


PREVENT Edge lifting
ON EXTRA WIDE FOUNDATIONS
If you are going to set a piece of equipment on a prepared foundation and the epoxy grout will extend greater than 4 to 6 inches past the base plate edge lifting can occur. This is noticed by a horizontal crack in the concrete foundation just below the bond line with epoxy grout. It’s cause is due to the difference in coefficient of thermal expansion between the epoxy grout and the concrete. The epoxy grout will contract in cooler weather and pull on the concrete which has weak tensile strength. While there is no way to know if this will happen or not we can take precautionary measures to make sure this does not happen.
The prevention is through the installation of dowel pins in the premotor of the foundation. The installation of #5 or #6 rebar is installed approximately 4” in from the outer edge of the foundation just inside the rebar cage. The dowel pins need to have a minimum of 4” of embedment into the concrete and needs to extend at least one inch above the prepared concrete surface. The dowels should be paced around the perimeter approximately 6” on center. This will give the epoxy grout something to hold onto and thus preventing edge lifting.
Prevent Thermal Cracks
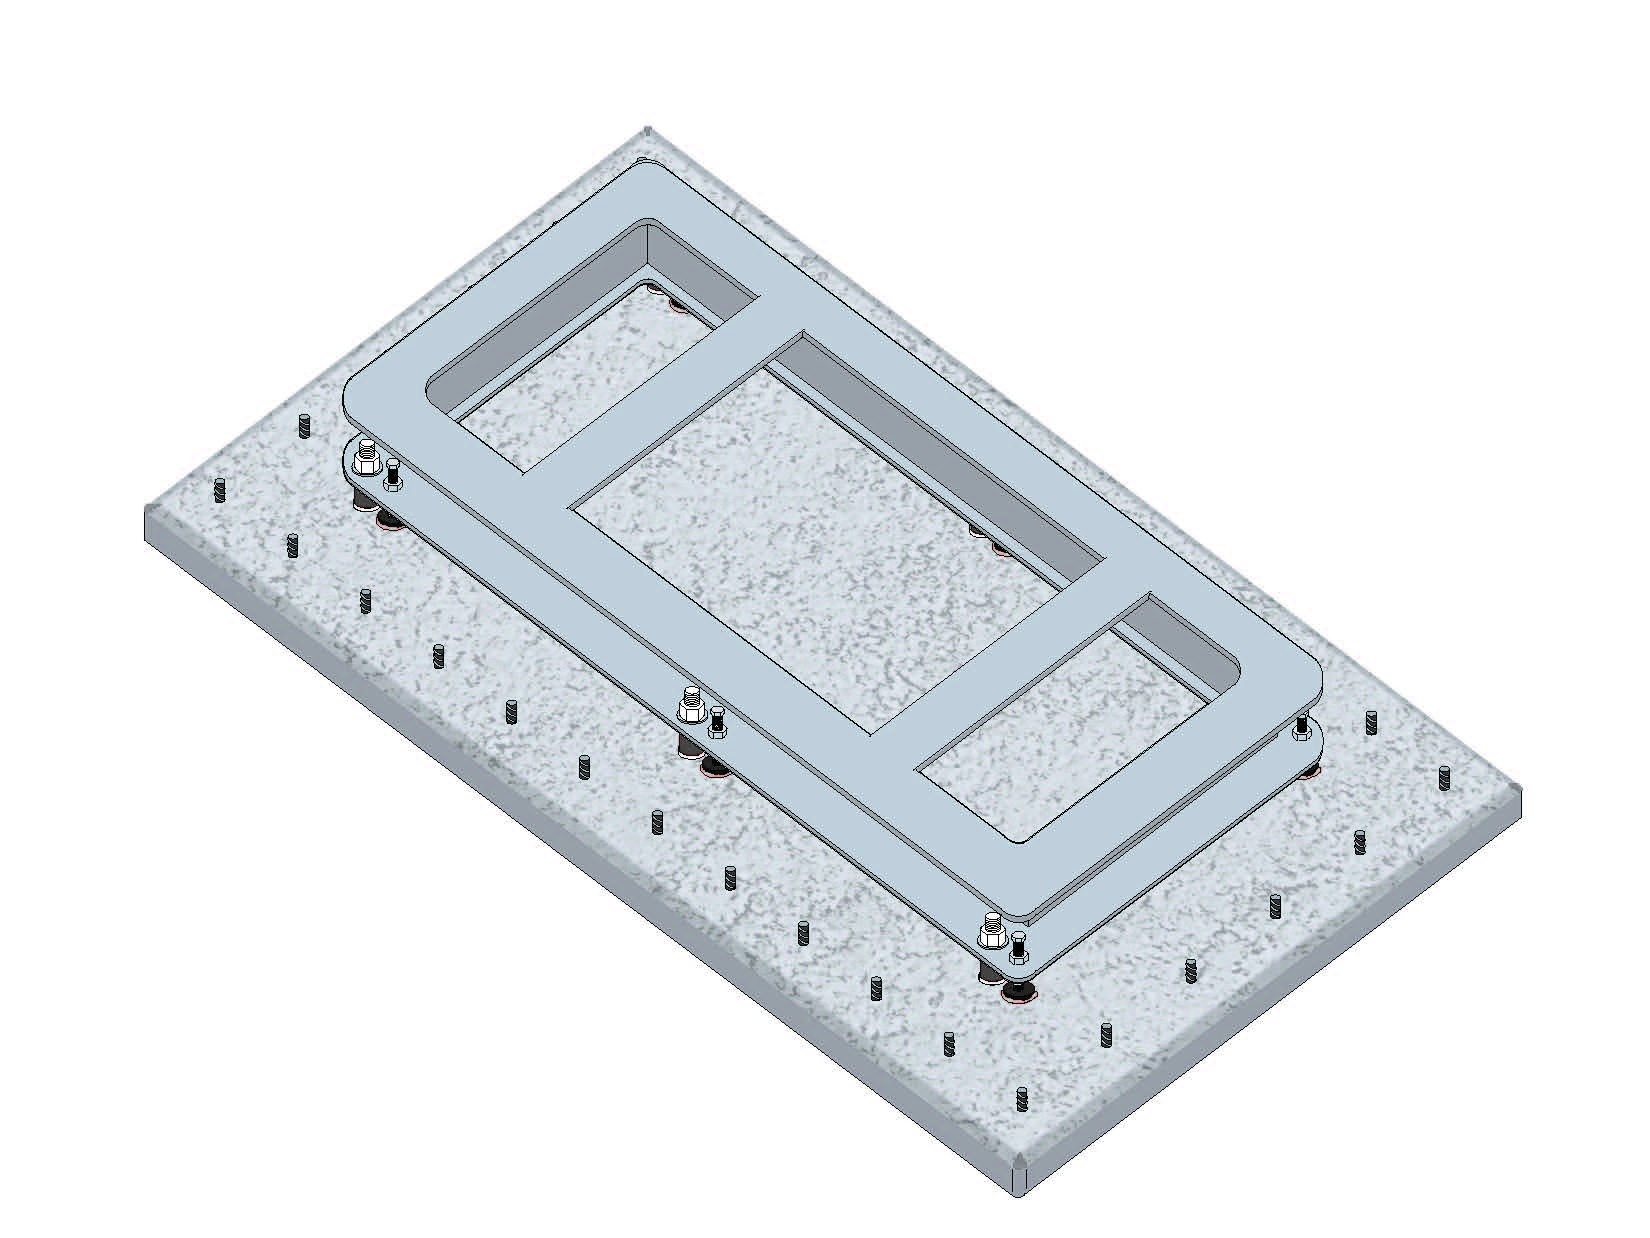
ON LARGER BASES (EXPANSION JOINTS)
If the base that you are installing is larger than 5’ to 7’ in any direction you may consider installing an expansion joint(s) on the prepared foundation prior to installation of the base.
During the installation of the epoxy grout there is a chance that thermal stress cracks may appear after the job is completed and the grout is fully cured. The cracks are nothing more than the material relieving an internal stress, however the aesthetics of a crack often lend to concern. These cracks if they occur do not affect the structural integrity of the grout layer or its load bearing capability. These cracks are considered natural occurring expansion joints.
To eliminate or reduce thermal cracks, install expansion joints under a base every 5’ to 7’ on the prepared concrete foundation. This should be considered especially on outdoor installations in which the grout will see seasonal temperature swings.
The expansion joints can be made from wood, joint material, or foam board. An expansion joint should not be placed within 3” of an anchor bolt or directly under a parallel bearing member on the base plate.
After the surface is prepared the expansion joint can be cut to a loose profile of the prepared surface with a height slightly taller than the bottom of the baseplate. The bottom of the expansion joint should be sealed to the prepared foundation with a caulking material. This will help to hold the expansion joint in place when the grout is being placed along with the expansion joint being slightly compressed in place as shown by the second example.
Once the base is leveled and the grout is poured you can see the grout is separated into three sections allowing for the cured grout to expand and contract with seasonal temperature variations. After the "lock-in" pour is cured, then you can fill the cavity. After the grout for the cavity fill has cured out, strip the forms, release the jack bolts, take the final torque on the anchor bolts, and install expansion joint material on the exposed edge for the foundation. You will need to trim back approximately a half inch of the expansion joint to just below the surface of the grout. You will then need to add an elastic expansion joint material that is flexible and will allow for the expansion and contraction of the epoxy grout.
One thing to keep in mind when locating an expansion joint is - this is not an exact science, only a preventative measure to reduce or eliminate cracks in the epoxy grout. If a crack were to occur it simply becomes a maintenance item and needs to be addressed. As soon as a crack is noticed we want to “V” out a channel over the crack and fill this crack with an expansion joint material to prevent any liquids from getting to the foundation surface. Please see the last illustration to the left.